DKH DESTINY & DUSK2DAWN FARM
Home
Our History
Does
Alpine
Lamancha
Nubian
Saanen
Recorded Grades
Bucks
Owned Bucks
Reference Animals
Reference Bucks
In Memorial
DKH DESTINY PACK GOATS
FREEZE DRIED EATS
DesignsbyDestiny
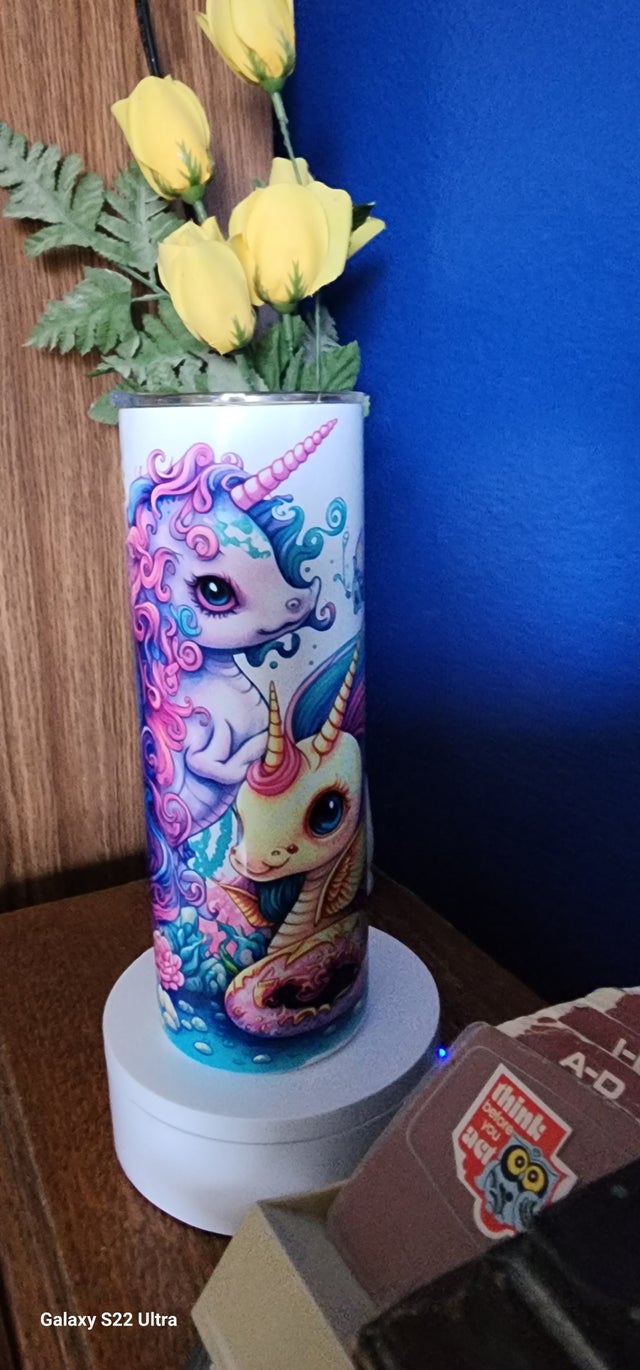
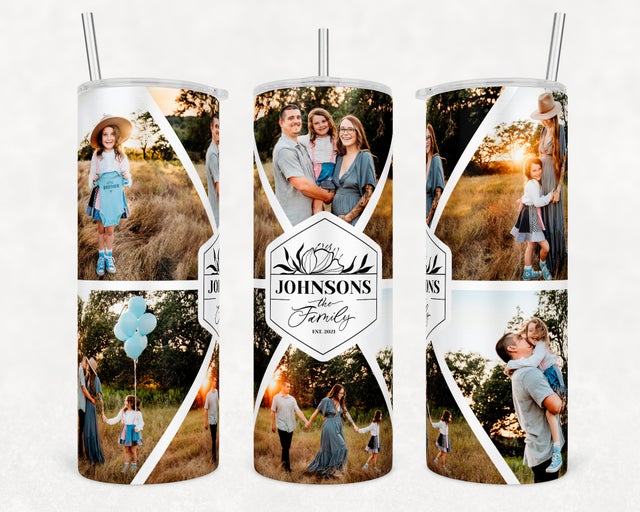
Custom Tumbler
$25.00
$25.00
Setup fee
$15.00
$15.00
Koosi
$3.00 - $5.00
$3.00 - $5.00
FREEZE DRIED JOLLY BOMBS
$5.00
$5.00
FREEZE DRIED ERNDS
$5.00
$5.00
FREEZE DRIED ITTLES
$5.00
$5.00
8" WINDSPINNER
$25.00
$25.00
Home
Our History
Does
Alpine
Lamancha
Nubian
Saanen
Recorded Grades
Bucks
Owned Bucks
Reference Animals
Reference Bucks
In Memorial
DKH DESTINY PACK GOATS
FREEZE DRIED EATS
DesignsbyDestiny